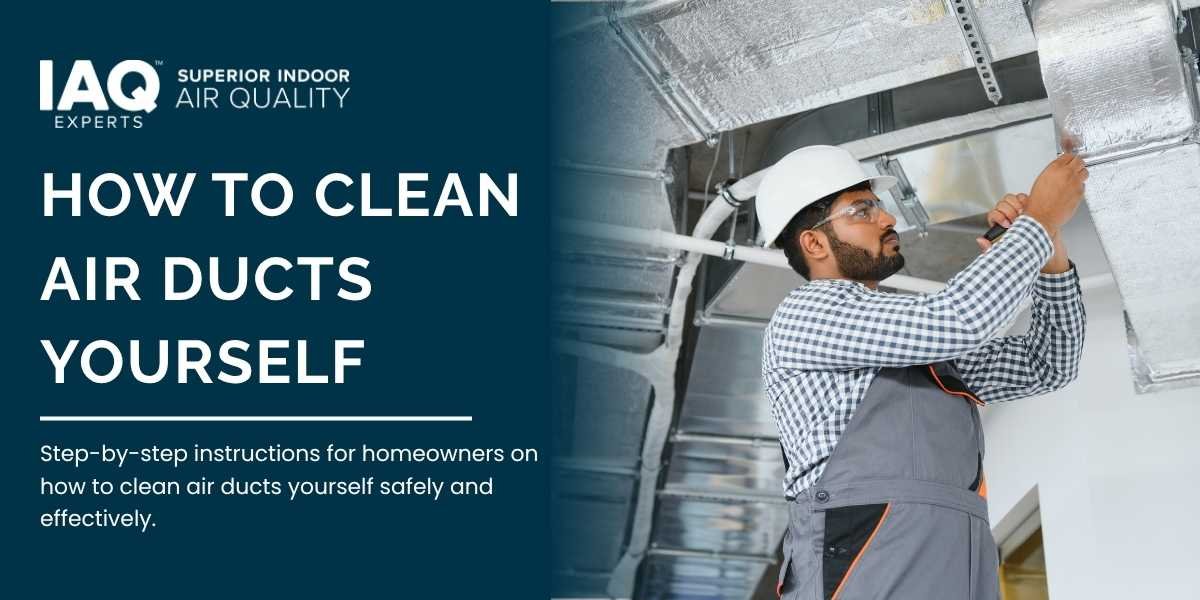
Want to improve airflow, reduce dust, and lower HVAC strain without paying for expensive services? Learning how to clean air ducts yourself is easier than most homeowners think. With a few basic tools and the right process, you can remove dust buildup from your HVAC system and help your heating and cooling system run more efficiently.
This guide covers everything you need to know about cleaning air ducts DIY, including tools, safety tips, step-by-step instructions, and common mistakes to avoid.
DIY or Hire a Professional?
Before starting an air duct cleaning do it yourself project, determine whether your duct system is suitable for DIY cleaning.
You can usually clean the ducts yourself if:
- The dust buildup is dry and light
- Ducts are easy to access
- There’s no visible mold
- You don’t notice strong odors
- No signs of rodent droppings or insects are present
However, professional help is recommended if you notice:
- Wet or slimy buildup
- Torn insulation
- Mold growth
- Pest infestations
- Long hidden duct runs in tight attic spaces
Truck-mounted vacuums and specialized rotary brushes are often needed for severe contamination.
A simple test? Remove one vent cover and wipe inside with a cloth. If the residue is mostly gray dust without stains or moisture, you can likely proceed with cleaning HVAC ducts DIY safely.
If you’re still unsure whether to clean the ducts yourself or call a pro, read this guide on DIY vs Professional Air Duct Cleaning.
Essential Tools for Cleaning Air Ducts DIY
Before learning how to clean air ducts in house, gather all your equipment first. Proper preparation makes the job safer and much more effective.
Basic Tools You’ll Need
- Step ladder
- #2 screwdriver
- Wet/dry shop vacuum with a long hose
- Soft-bristle brush
- Dryer vent cleaning rod kit
- Microfiber cloths
- Painter’s tape
- N95 mask
- Safety goggles
- Gloves
These tools are ideal for most AC duct cleaning DIY jobs and can be found at hardware stores or online.
Preparing Your HVAC System for Cleaning
Proper setup is one of the most overlooked parts of clean ducts yourself projects.
Step 1: Turn Off the HVAC System
Switch the thermostat to “off” and shut off power at the breaker panel. Never clean ducts while the system is running because dust can spread throughout your home instantly.
Step 2: Clear the Work Area
Move nearby furniture, rugs, and decorations away from vents and returns. Place drop cloths underneath each vent opening to catch debris.
Step 3: Seal Supply Registers
Use painter’s tape or plastic sheeting to seal supply vents temporarily. This helps direct loosened dust toward the vacuum instead of blowing it into rooms.
Optional Tools That Make the Job Easier
While not required, these extras can improve your cleaning air ducts DIY experience:
- Headlamp for dark attic spaces
- Inspection mirror for tight corners
- Small leaf blower for pushing debris toward openings
- Flexible camera scope for duct inspection
If using a leaf blower, seal all other vents carefully first. Otherwise, dust may explode back into your living spaces.
Step-by-Step Process: How to Clean Heating and Air Conditioning Ducts Yourself
Now let’s get into the actual process of how to clean heating and air conditioning ducts yourself safely and effectively.
1. Remove Vent Covers and Registers
Use a screwdriver to remove supply and return vent covers. Label them if necessary so they go back into the same rooms later.
Place screws in a small container to avoid losing them.
2. Inspect the Duct Openings
Shine a flashlight inside each duct opening. Look for:
- Heavy dust buildup
- Water stains
- Rust
- Mold growth
- Insect nests
- Rodent droppings
If you notice mold or animal contamination, stop immediately and contact a professional HVAC cleaner.
3. Loosen Dust and Debris
Using a soft brush, gently scrub the inner duct walls near each opening. This step loosens dust stuck to metal surfaces.
For ceiling vents, attach the brush to a short extension pole and work slowly to avoid damaging duct seams.
This is a critical step in learning how to clean air ducts DIY correctly.
4. Vacuum the Duct Openings
Attach the crevice tool to your wet/dry vacuum hose and insert it into the ductwork. Move slowly along the bottom and sides of the ducts.
Empty the vacuum drum frequently because reduced suction limits cleaning power.
Avoid using regular household vacuums because fine dust can clog the motor quickly.
5. Sweep Deeper Into the Ductwork
Insert a dryer vent cleaning brush into straight metal ducts. Rotate clockwise while pulling the brush back slowly.
This action drags debris toward the opening where the vacuum can remove it.
This method works especially well for homeowners learning how to clean ductwork without expensive equipment.
6. Clean the Return Air Plenum
The return side often collects the most dirt in the entire HVAC system.
Remove the large return grille and vacuum the inside thoroughly. Then wipe the walls using a damp microfiber cloth.
Take extra time here because improving return airflow boosts HVAC performance significantly.
7. Wash Vent Covers and Registers
Soak vent covers in warm soapy water and scrub away dirt and grease buildup.
Rinse completely and allow them to dry fully before reinstalling.
If you notice rust spots, lightly sand them and apply HVAC-safe touch-up paint.
8. Replace the HVAC Air Filter
Never finish air duct cleaning do it yourself projects without changing the air filter.
Remove the old filter and vacuum the surrounding slot before inserting a new MERV-rated filter.
Make sure airflow arrows point toward the blower motor.
For better indoor air quality, the EPA recommends replacing filters regularly:
9. Restore Power and Test the System
Remove tape from vents and restore power at the breaker. Turn on the HVAC fan and let it run for about 15 minutes.
Any remaining loose dust should collect in the new filter. Check the filter afterward and replace it again if necessary.
Common Mistakes to Avoid During Air Duct Cleaning DIY
Many homeowners make avoidable mistakes while learning how to clean air ducts in house. Here are the biggest ones to avoid:
Skipping Safety Gear
Dust, insulation particles, and allergens can irritate your lungs and eyes quickly. Always wear gloves, goggles, and an N95 mask.
Using the Wrong Vacuum
Household vacuums are not designed for heavy HVAC debris. A shop vacuum provides stronger suction and better filtration.
Damaging Flexible Ducts
Flex ducts tear easily. Avoid forcing rods or brushes through flexible lines. Clean only accessible sections carefully.
Leaving the HVAC System Running
Cleaning with the system on spreads dust throughout the home instantly. Always shut off power first.
Forgetting to Replace the Filter
A dirty old filter allows loosened debris to circulate right back into your living spaces.
Spraying Chemicals into Ducts
Avoid DIY chemical treatments or disinfectants unless specifically approved for HVAC systems. Improper use may release harmful fumes or damage components.
Ignoring Small Air Leaks
Seal visible duct gaps using foil HVAC tape or mastic sealant while vent covers are removed. This improves efficiency and prevents future dust buildup.
How Often Should You Clean Air Ducts?
Most homes need duct cleaning every 3 to 5 years. However, several factors affect how often you should schedule cleaning air ducts DIY maintenance.
You may need more frequent cleaning if:
- You have pets
- Someone smokes indoors
- Family members suffer from allergies or asthma
- Your home recently underwent renovations
- You live near gravel roads or construction areas
- Wildfire smoke recently affected your area
Moist climates also increase mold risk inside duct systems.
Inspect vents every six months. If you notice gray dust rings or musty smells when the system starts, it’s probably time for another cleaning.
You can also follow this guide on How Often to Clean Austin Ducts to create a proper maintenance schedule.
Benefits of Cleaning HVAC Ducts Yourself
Learning how to clean air ducts yourself offers several advantages beyond cleaner vents.
Improved Indoor Air Quality
Removing dust and allergens helps reduce airborne irritants throughout your home.
Better HVAC Efficiency
Cleaner airflow reduces strain on the blower motor and improves temperature consistency.
Lower Energy Bills
Efficient airflow helps your HVAC system run shorter cycles, reducing energy consumption.
Longer Equipment Lifespan
Less strain on components means fewer repairs and longer system life.
Reduced Household Dust
Many homeowners notice less dust settling on furniture after cleaning ducts properly.
FAQs About DIY Air Duct Cleaning
Can I clean air ducts myself without professional tools?
Yes, many homeowners can perform basic duct cleaning using a shop vacuum, soft brushes, and common household tools.
Is DIY duct cleaning safe?
It’s generally safe if you wear protective gear and avoid damaging flexible ducts or electrical components.
How long does it take to clean air ducts yourself?
Most homes take between 2 and 5 hours depending on the number of vents and accessibility.
Does air duct cleaning really help?
Yes. Proper cleaning can improve airflow, reduce allergens, and help HVAC systems operate more efficiently.
Should I sanitize my ducts after cleaning?
Most homeowners do not need chemical sanitizers. Mechanical dust removal is usually enough unless mold contamination exists.
Final Thoughts
Learning how to clean air ducts yourself can improve your indoor air quality, lower energy bills, and help your HVAC system operate more efficiently. While the process takes patience and proper preparation, most homeowners can handle basic AC duct cleaning DIY tasks successfully.
The key is using the right tools, following safety precautions, and recognizing when professional help is necessary. If you discover mold, pests, water damage, or torn ductwork, stop immediately and contact an HVAC specialist.
Keep track of cleaning dates and inspection notes so you know when your next maintenance session is due. With regular upkeep, your home’s duct system can stay cleaner, healthier, and more energy-efficient year-round.